Dinner-Ready Chicken Cutlets Jalapeño Popper Style – Crispy on the Outside, Juicy Inside
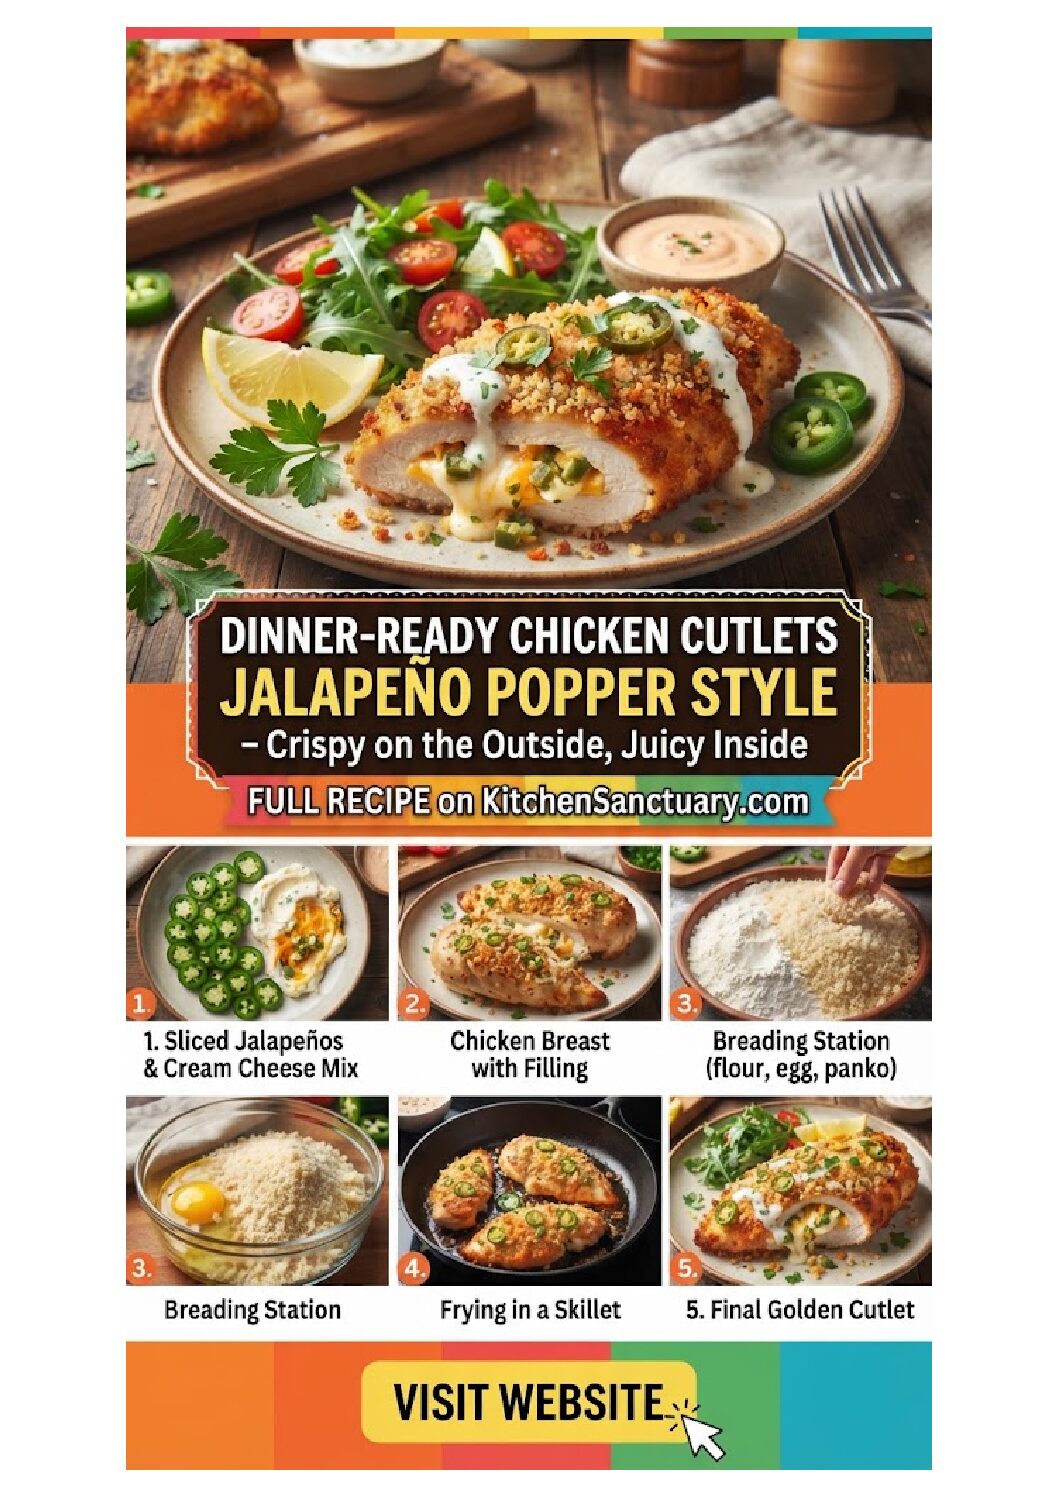
Imagine a golden-brown, shattering-crisp exterior that gives way to a tender, succulent piece of chicken. Just as you think it can’t get any better, a molten core of creamy, tangy cheese and the vibrant, spicy kick of jalapeños erupts, coating every bite in a symphony of flavors. This is not just a meal; it is a culinary experience.
The Chicken Cutlet Jalapeño Popper Style is the ultimate fusion of two beloved comfort foods: the classic breaded chicken cutlet and the quintessential game-day appetizer, the jalapeño popper. Whether you are looking to impress guests at a dinner party or simply want to elevate your Tuesday night meal rotation, this dish delivers on every promise of texture and taste.
Why This Recipe is a Weeknight Game Changer
In the world of home cooking, we often face a trade-off between speed and quality. We want something that feels “chef-inspired,” yet we have exactly forty-five minutes before the family starts hovering around the kitchen.
This recipe bridges that gap. It utilizes clever techniques—like butterflying and pounding the chicken—to ensure fast, even cooking while incorporating high-impact ingredients like cream cheese, sharp cheddar, and fresh jalapeños to provide a “wow” factor that usually takes hours of braising or roasting to achieve.
Furthermore, it is incredibly versatile. It fits perfectly into a low-carb lifestyle if you swap the breadcrumbs for pork rinds or almond flour, and it can be air-fried for those looking to cut back on oil without sacrificing that signature crunch.
The Anatomy of the Perfect Jalapeño Popper Cutlet
To master this dish, we must first understand the three distinct layers that make it successful:
- The Shell (The Crunch): This is the first thing your teeth hit. It must be seasoned, light, and exceptionally crispy. We achieve this through a standard three-stage dredging process using panko breadcrumbs.
- The Protein (The Juicy Foundation): The chicken breast serves as the vessel. If it’s too thick, the outside burns before the inside cooks. If it’s too thin, it won’t hold the stuffing. The “Sweet Spot” is a 1/4-inch thickness attained through careful pounding.
- The Core (The Flavor Bomb): This is the jalapeño popper filling. A mixture of softened cream cheese, aged cheddar, minced jalapeños, and perhaps a hint of bacon or green onion. It needs to be thick enough to stay inside the chicken but soft enough to melt into a sauce-like consistency when heated.
Ingredients: Sourcing the Best for Maximum Flavor
To reach the heights of “restaurant quality” at home, ingredient selection is paramount.
The Chicken
Look for air-chilled chicken breasts. Standard water-chilled chicken often releases excess moisture during cooking, which can lead to “soggy bottom” syndrome—the enemy of a crispy cutlet. Air-chilled chicken retains its natural juices and browns far more effectively.
The Peppers
When selecting jalapeños, look at the skin. If you see white “stretch marks” or scarring (striations), it’s a sign the pepper was stressed while growing, which usually translates to more heat. If you prefer a milder flavor, look for smooth, shiny green peppers and be sure to remove every single seed and the white pith (ribs), as that is where the capsaicin resides.
The Cheese Blend
- Cream Cheese: Always use full-fat, brick-style cream cheese. The “spreadable” versions in tubs contain too much air and moisture, which will cause the filling to leak out during frying.
- Sharp Cheddar: Freshly grated is better than pre-shredded. Pre-shredded cheese is coated in potato starch or cellulose to prevent clumping, which prevents it from melting into a smooth, cohesive filling.
- Optional – Monterey Jack: For a superior “cheese pull,” mix in some shredded Monterey Jack.
The Breading
- Panko Breadcrumbs: These Japanese-style breadcrumbs are larger and airier than traditional breadcrumbs. They create a jagged surface area that traps less oil and stays crunchy for longer.
- All-Purpose Flour: This provides the dry base that allows the egg wash to stick.
- Eggs: The “glue” of the operation.
The Step-by-Step Masterclass
Phase 1: Preparing the Jalapeño Popper Filling
Before touching the raw meat, prepare your filling. This prevents cross-contamination and allows the flavors to meld.
- In a medium bowl, combine 4 oz of softened cream cheese with 1/2 cup of shredded sharp cheddar.
- Finely dice 2 medium jalapeños. For a balanced heat, keep the seeds of one pepper and discard the other.
- Add a pinch of garlic powder, onion powder, and smoked paprika.
- Pro Tip: Add 2 tablespoons of crumbled, cooked bacon to the mix for a smoky depth that mimics the “bacon-wrapped” version of a jalapeño popper.
- Mix until smooth and set aside at room temperature.
Phase 2: Prepping the Chicken
This is the most technical part of the recipe.
- Butterflying: Place your hand flat on top of the chicken breast. Using a sharp chef’s knife or a utility knife, slice horizontally through the center of the breast, stopping about half an inch before the other side. Open it up like a book.
- Pounding: Place the butterflied chicken between two sheets of plastic wrap or inside a large gallon-sized freezer bag. Using the flat side of a meat mallet (or a heavy rolling pin), gently pound the chicken from the center outward until it is an even 1/4-inch thickness.
- The Pocket: Instead of rolling the chicken (which makes it too thick to fry), we are going to use the “Fold-Over” method. Place 2 tablespoons of the cheese mixture on one-half of the pounded chicken breast, leaving a 1/2-inch border around the edges.
Phase 3: Sealing and Breading
To ensure the cheese doesn’t escape into your frying pan, you must create a tight seal.
- Fold the empty half of the chicken over the filling. Press the edges together firmly. If you are worried about leaks, you can secure the edges with 2-3 toothpicks (just remember to remove them before serving!).
- The Station: Set up three shallow bowls.
- Bowl 1: Flour seasoned with salt and black pepper.
- Bowl 2: Two beaten eggs with a splash of water or hot sauce.
- Bowl 3: Panko breadcrumbs seasoned with dried parsley and a hint of parmesan cheese.
- Dredging: Coat the stuffed chicken in flour (shake off excess), dip thoroughly into the egg wash, and then press firmly into the panko until every nook and cranny is covered.
Phase 4: The Perfect Fry
- Heat a large skillet (cast iron or stainless steel is best) over medium-high heat. Add enough neutral oil (avocado, canola, or grapeseed) to coat the bottom about 1/4-inch deep.
- The Sizzle Test: Drop a single breadcrumb into the oil. If it sizzles immediately, the oil is ready.
- Carefully lay the chicken into the pan, laying it away from you to prevent oil splatters.
- Fry for 4-5 minutes per side. Do not move the chicken until a golden crust has formed.
- The Internal Temp: Use an instant-read thermometer. You are looking for an internal temperature of 165°F (74°C) in the thickest part of the meat.
The Science of the “Crispy and Juicy” Paradox
Why do some cutlets turn out dry while others are dripping with juice? It comes down to The Maillard Reaction and Carry-Over Cooking.
When you fry the chicken, the high heat causes a chemical reaction between amino acids and reducing sugars on the surface (the breading). This creates the brown color and the complex, savory flavor. However, if the heat is too low, the chicken sits in the oil too long, the water inside the meat evaporates, and you end up with a “tough” cutlet.
By pounding the chicken thin, we ensure that the Maillard reaction on the outside finishes at the exact moment the interior reaches safety.
Furthermore, the cream cheese filling acts as an internal basting agent. As the cheese melts, it creates a steam chamber inside the chicken, effectively “poaching” the interior of the meat while the outside fries. This is the secret to why this specific style of cutlet is almost impossible to overdry.
Advanced Variations: Customizing Your Cutlets
The “Keto-Friendly” Version
If you are monitoring your carb intake, you don’t have to miss out. Replace the flour with almond flour and replace the panko with crushed pork rinds (chicharrones). Pork rinds provide an incredible crunch and a fatty richness that pairs perfectly with the jalapeño popper theme.
The Air-Fryer Method
For a lighter version, preheat your air fryer to 390°F. Spray the breaded cutlets generously with oil on both sides. This is crucial; without oil, the panko will look white and taste like cardboard. Air fry for 12-15 minutes, flipping halfway through.
The “Buffalo” Twist
Mix a tablespoon of Buffalo wing sauce into the cream cheese filling. After frying, drizzle the entire cutlet with more Buffalo sauce and serve with a side of blue cheese dressing.
What to Serve: Side Dish Pairings
A dish this rich needs balance. You want sides that offer acidity or freshness to cut through the creaminess of the cheese and the richness of the fried breading.
- Cilantro-Lime Slaw: A crunchy slaw made with shredded cabbage, fresh cilantro, lime juice, and a touch of honey. The acidity of the lime acts as a palate cleanser.
- Mexican Street Corn (Elote): Charred corn on the cob slathered in mayo, cotija cheese, and chili powder. It echoes the flavors of the jalapeño popper.
- Garlic Mashed Potatoes: If you want pure comfort, nothing beats a pile of creamy potatoes to soak up any cheese that might have leaked from the chicken.
- A Simple Arugula Salad: The peppery bite of arugula with a lemon vinaigrette provides a sophisticated contrast to the “heavy” nature of the fried chicken.
Expert Tips for Success
- Chill Before Frying: If you have time, place the breaded, stuffed cutlets in the refrigerator for 20-30 minutes before frying. This “sets” the breading and firms up the cheese filling, making it less likely to explode in the pan.
- Don’t Overcrowd the Pan: If you put too many cutlets in at once, the oil temperature will drop significantly. Instead of frying, the chicken will “stew” in luke-warm oil, resulting in a greasy, soggy mess. Cook in batches if necessary.
- The Cooling Rack: Never place fried chicken directly onto a flat plate or paper towel. The steam from the bottom of the chicken will get trapped, making the underside soggy. Instead, rest the finished cutlets on a wire cooling rack set over a baking sheet. This allows air to circulate around the entire cutlet.
Handling Jalapeños Safely
It’s happened to the best of us: you chop a jalapeño, forget, and then rub your eye. To avoid the “pepper burn”:
- Wear Gloves: If you have sensitive skin, disposable food-prep gloves are a lifesaver.
- The Oil Method: If you do get capsaicin on your hands, washing with water often doesn’t help because capsaicin is an oil. Instead, rub your hands with a bit of vegetable oil or dish soap first to break down the pepper oils, then wash with warm water.
- The Spoon Trick: Use a small spoon to scrape out the seeds and ribs of the jalapeño. This keeps your fingers away from the “hottest” part of the vegetable.
Meal Prep and Storage
Can you make these ahead of time? Absolutely.
- Freezing (Raw): You can bread and stuff the chicken, then freeze them individually on a parchment-lined tray. Once frozen solid, transfer to a freezer bag. They will keep for up to 3 months. When ready to eat, thaw in the fridge overnight before frying.
- Reheating (Cooked): If you have leftovers, avoid the microwave at all costs—it will turn your crispy crust into a gummy layer. Instead, reheat in a 350°F oven or air fryer for 5-8 minutes until the cheese is molten again and the exterior is crisp.
Troubleshooting Common Issues
“The cheese all leaked out!”
This usually happens for two reasons: the chicken wasn’t pounded evenly (leaving a hole) or the edges weren’t sealed properly. Next time, ensure you leave a clear border of meat around the filling and press the edges firmly. Using an egg wash on the “seam” before folding can also act as a glue.
“The outside is burnt but the chicken is raw.”
Your oil was too hot. If the breading is browning too fast, turn the heat down to medium and add a splash of room-temperature oil to the pan to bring the temp down quickly. You can also finish the chicken in a 350°F oven for 5 minutes to ensure the middle is cooked through without darkening the crust further.
“The breading is falling off.”
This is usually caused by the chicken being too wet before the flour stage. Pat the chicken completely dry with paper towels before you begin the dredging process. Also, make sure you don’t skip the “rest” period after breading; it helps the coating bond to the meat.
The Verdict: A New Family Favorite
The Dinner-Ready Chicken Cutlet Jalapeño Popper Style is more than just a meal; it’s a solution to the “what’s for dinner” boredom. It hits every textural note we crave: the snap, the crunch, the creaminess, and the heat.
By following this guide, you aren’t just making a recipe; you are mastering the art of the stuffed cutlet. Whether you’re serving it with a side of cool ranch dressing or a sophisticated citrus salad, this dish is guaranteed to become a requested staple in your household.
The next time you’re at the grocery store, grab a pack of chicken, a block of cream cheese, and a handful of jalapeños. Your taste buds—and your family—will thank you.
Frequently Asked Questions
Can I use chicken thighs instead of breasts?
Yes, but it is more difficult. Chicken thighs are smaller and have more connective tissue, making them harder to butterfly and stuff. However, they are more flavorful and forgiving if overcooked. If using thighs, look for “boneless, skinless” and be prepared for a smaller “pocket” for the filling.
Is this dish very spicy?
It is as spicy as you want it to be. The cream cheese and breading do a lot to neutralize the heat of the jalapeños. If you remove all seeds and ribs, the flavor is more “green and peppery” than “burning hot.” For those who love heat, use serrano peppers instead of jalapeños.
What kind of oil is best for frying?
High-smoke point oils are essential. Avocado oil is the healthiest choice with a very high smoke point. Grapeseed oil is neutral and affordable. Avoid extra virgin olive oil for this recipe, as its smoke point is too low and it can leave a bitter taste when heated to frying temperatures.
Can I make this gluten-free?
Yes. Simply substitute the all-purpose flour with a 1-to-1 gluten-free flour blend and use gluten-free panko or crushed gluten-free crackers for the final coating. The results are nearly identical in texture.
How do I know when the jalapeños are cooked enough inside?
Since the jalapeños are finely minced, they cook very quickly. The 8-10 minutes of total frying time is more than enough to soften the peppers and release their aromatic oils into the cheese mixture. There is no need to pre-cook the peppers.